Installation
Recommended Setup Order
If you plan to use the rtl_433 add-on on Home Assistant OS or another Supervisor-based install, set things up in this order:
- Install this integration (HACS or manual, below).
- Restart Home Assistant so the integration is loaded.
- Install and start the add-on.
With the integration already loaded, each radio the add-on detects appears as a discovered rtl_433 card under Settings → Devices & Services — no manual connection details needed. See Add-On Discovery.
HACS Custom Repository
This integration is not yet in the default HACS store, so add it as a custom repository:
- In Home Assistant, open HACS.
- Click the ⋮ menu in the top right, then Custom repositories.
- Enter
https://github.com/rtl-433-hass/rtl_433and choose the Integration category. - Search for rtl_433, open it, and click Download.
- Restart Home Assistant.
Manual Install
- Copy
custom_components/rtl_433from this repository into Home Assistant's<config>/custom_components/directory. - Confirm the final path is
<config>/custom_components/rtl_433/. - Restart Home Assistant.
Next Step
If you are using the rtl_433 add-on, install and start it now; each detected radio appears as a discovered rtl_433 card under Settings → Devices & Services, ready to add with one click.
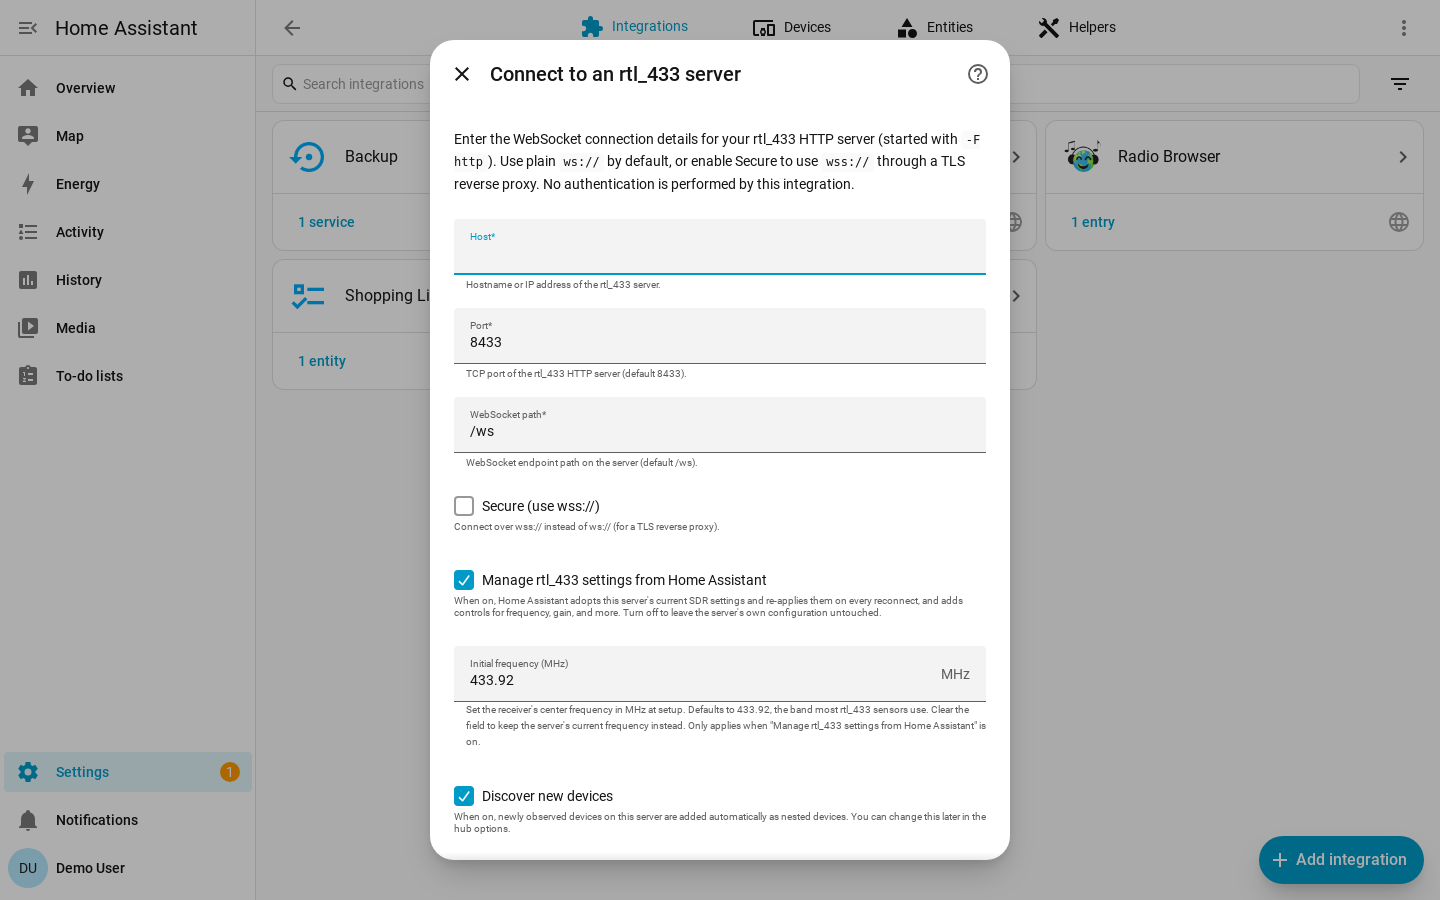
For any other rtl_433 server, add a hub manually using the configuration guide. You will see the connection form below.